Most of us are moms here, so I am sure you can relate that “me time” is pretty slim pickings. Between changing diapers, cooking from scratch, work, and scrubbing counter tops I am left with about 1.5 minutes devoted entirely to myself….man how I sometimes wish I could just be a kid again.
Somehow though, there are those rare days when the universe is in perfect sync and time aligns itself to allow me to have 30 minutes of me time. The kids are sleeping, the kitchen is sparkling, and the world is quiet…ahh, peaceful right? I could uses this time to blog, or veg on the couch, or polish silver but rather I find myself ready to relax and think about absolutely nothing.
Fortunately, the quickest way to do this is a DIY at-home facial. I head into my bathroom and rejuvenate with an in home spa night, full of DIY beauty heaven.
The key to a relaxing in-home spa is having advanced preparation. Knowing what DIY recipes you will use and in what order. Having the basic process of an at home facial in the back of your head will make with entire experience much more calming… looking at a computer screen via candle light while trying to envision white sand beaches can be a little challenging and not in the least bit relaxing.
Read through this post a time (or three!) so that you can recall it easily; then when those 30 minutes of me time do decide to make an appearance you will be armed with this post in your memory.
So why DIY and not packaged products specifically for facials? If you couldn’t tell by most of my posts here on Scratch Mommy, I love DIY beauty. Don’t get me wrong, I also have my fair share of favorite clean beauty lines, Yoshimomo Bontanique and JMA Skincare (and, of course, Pronounce Skincare). However, there is just something wonderful about mixing, customizing, and applying your own beauty recipes.
For one, DIY beauty is typically pretty easy on the pocketbook. With most of the ingredients coming from the kitchen or previously purchased bulk items, many masks, serums, and lotions can be made for mere dollars…compare that to a $50 anti-aging serum! Also, DIY beauty is completely customizable to your skin type.
After learning what ingredients go best with your skin recipes that wouldn’t normally work can be tweaked to become your new favorites. Plus with the Scratch Mommy DIY Beauty section at your fingertips the sky is the limit.
Overall, most DIY recipes are forgiving and allow for room to mix, subtract, and add your own personal favorite ingredients to result in a recipe that you will use time and time again.
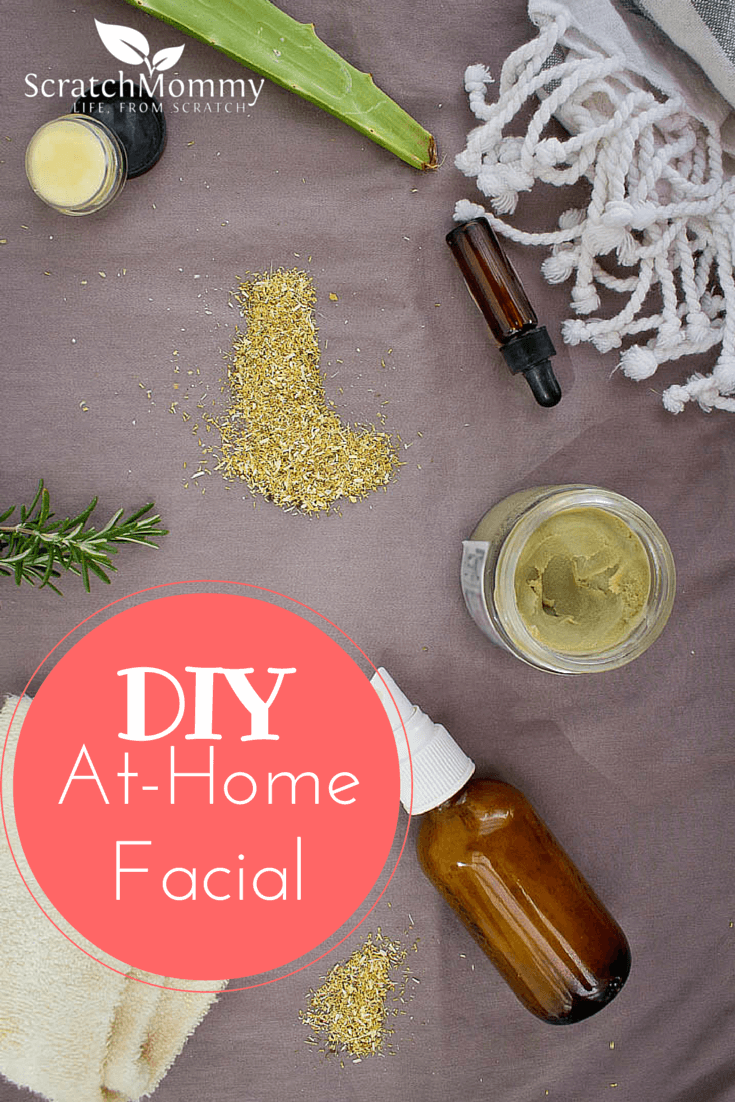
The Basic Process
Step One: Start With a Steam
Think of when you get a facial at a spa and that hot steam blasting in your face for five or more minutes.
It’s not there just to warm you up, but to also open your pores so they are relaxed, ready to release toxins, and ready to soak up all the goodness you’re going to apply to it.
By far my favorite way to steam my face is over a bowl of very hot water. Take a large pot and add an inch of filtered water (preferably chlorine-free, otherwise you’re dosing yourself with chlorine vapors). Put the pot on the stove until it comes to a boil. Immediately take it off the stove and to where you will be doing your facial. Lean over the pot and take a dish cloth or hand towel and place it over your head as well as over the pot (this is easiest when sitting down), like you’re creating a tent for the vapors to steam into.
Be careful as this is HOT. Don’t burn yourself on the pot or the hot steam. I always like to have small open area of the towel where the steam can escape. Then relax and let the steam do it’s job for at least 5-10 minutes. At times you will feel the steam cooling; just blow gently into the pot and more hot steam will be created.
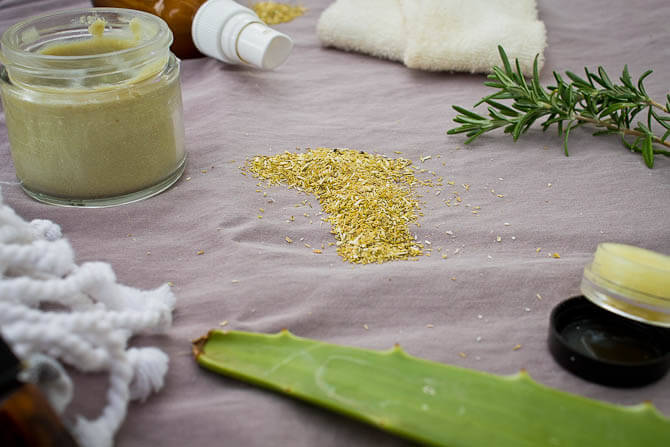
Here’s the secret to a steam that not only opens you pores but deliver nutrients to the skin as well: Add some herbs and essential oils to the water. I add my chosen ingredients just after I take the pot off the stove. This is a great place to experiment what is best for your skin.
A favorite is three drops lavender essential oil and a heaping tablespoon dried chamomile. This blend is extra calming after a stressful day and both herbs soothe the skin.
Alternatively, a fresh rosemary sprig and three drops lemon essential oil can be used. This is brightening and uplifting. It really clarifies the skin and is full of antioxidants.
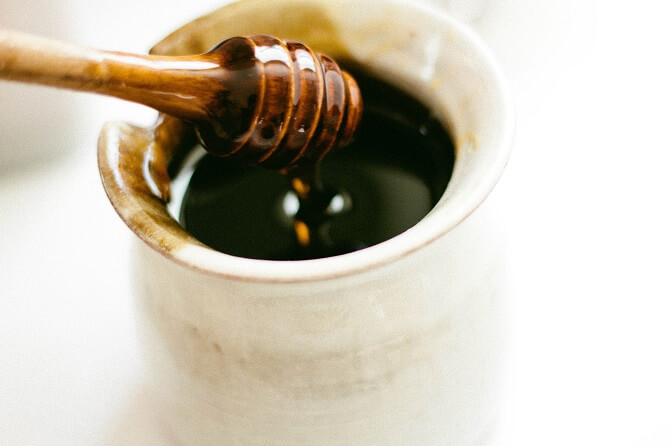
Step Two: Honey Cleanse
Once your pores are open, honey is a great next step as the enzymes and antibacterial compounds will soak into the deepest pores to draw out the toxins. Check out my post from last month to get the full scoop on how to cleanse with honey. Don’t forget that the honey you use does matter! I use Wedderspoon Manuka Honey to get the most active enzymes delivered to my skin.
After cleansing for 1-2 minutes I gently wash off the honey with warm water. Afterwards my skin is hydrated and supple.
Step Three: Exfoliate
Exfoliation is great for revealing the glowing new skin that lays beneath the top dead layers of skin. So here’s the catch though, I haven’t ever been pleased with DIY facial scrubs. I have tried a handful of them and they all seem too abrasive. The key to a proper exfoliation is gentle buffing with smooth particles, otherwise we are causing micro trauma to your skin. With this being said, this is the one step that I always choose a high quality store bought natural facial scrub. I shared My Three Favorite Scrubs on Clean’s the New Black.
Once you choose your scrub, take a small amount and in small circular motions gently buff your skin for two minutes. Always work in upward motions and again be very gentle. Wash the exfoliator off with warm water and prepare for step four.
Step Four: Mask Time!
This is my favorite step because it’s the most customizable and results oriented. Feel free to pick your favorite DIY facial mask and apply it gently to your freshly cleansed face. Here is my go to DIY Charcoal Turmeric Mask or try your hand at this Radiant Skin Mask. If you would rather not DIY this step, no problem your favorite clean beauty mask will supplement just fine. Leave the mask on for the time indicated in the directions.
While the mask in working is the prime time to really soak up all the home facial process has to offer. Lay in a comfortable, warm, dim environment and let your mind relax. Lavender and clary sage in a diffuser work great to aid in this. For added relaxation, add a hot bath to the mix. Start running your water before the Honey Cleanse. Once your face mask is on, the bath should be ready.
Add one of my Lavender Rose Bath Melts to the water and relax away while your mask is applied to your face. After about 15-20 minutes (the typical time for a mask) rinse it off with fresh running water and step out of the bath. Follow with Step Five and your favorite DIY body oil or body butter (or Scratch Mommy’s handcrafted organic body butter…so *real* you could literally eat it).
Step Five: Tone
After my mask is rinsed off I always finish with a Japanese beauty secret. My best friend’s mother was Japanese and she let me in on a little secret her grandmother taught her for glowing, tight skin.
Splash ice cold sink water on your face 100 times. Just bend over your sink with the water on cold, take small palm fulls of water and splash your face repeatedly until your reach 100.
It sounds torturous, and it’s not the most comfortable thing in the world but I highly recommend it. Afterwards your skin is fresh, tight, and radiant. Next I apply a DIY toner of choice. Two great DIY choices are Acne-Fighting and Awakening. Applying toner to your skin is very important after a facial because it closes the pores. Otherwise, they are left open to absorb environmental toxins and become clogged again.
Lastly, I always apply a few sprays of my Anti-Aging Vitamin-C Spray to finish the job.
Step Six: Hydrate
The last step to any facial is proper hydration. The freshly revealed skin will be thirsty for moisture throughout the next hours. This article is a wonderful place to start for an DIY oil based moisturizer, or just use organic argan oil like I often do. Whichever you choose, don’t skip this step otherwise you will be left with lackluster skin. I also always apply a good thick balm to my lips as well as my favorite eye treatment, I am loving this Caffeine Eye Serum right now.
You’re done!
Look in the mirror and revel in the glowing beauty that you are. An at-home spa day is in easier reach than you think. In just six steps your skin will be radiant and most importantly, your mind and body renewed.
With the extra prep that goes into living a #lifefromscratch “me time” is so important. It keeps our minds healthy so that our families can enjoy the best of what we are. The key to the at home DIY facial is preparation, and if you’re not a DIYer then use your favorite purchased products. It really comes down to relaxing during those scarce few minutes of solitude.