
So, what’s the Big Deal with Fermentation?
I’m sure at this point in your life you’ve heard of fermentation, like these easy fermented pickles. It’s all the rage in the “health” food world *real* food world. The funny thing is, fermentation has been around (literally!) for centuries. In fact, if you eat sauerkraut, drink wine, or enjoy yogurt—you already know about fermented foods.
So, what’s really so special about fermented foods? Well, for starters, it’s an effective way to preserve food without processing it in a canner, freezing it, or drying it. Beyond the preservation advantages, fermented foods increase your vitamin and enzyme levels, as well as digestibility, of food. Due to the fermentation process, it’s also a rich source of probiotics, aka lactobacillus, which have been proven to contribute to overall good health. …AND, most importantly, fermented foods taste great!
Easy Fermented Pickles
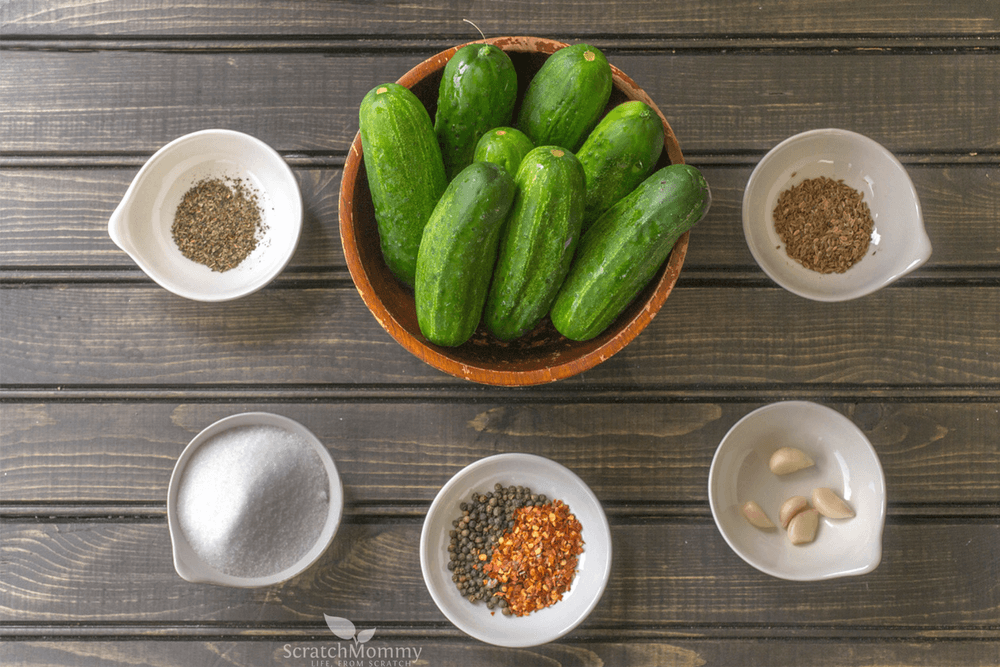
7 simple ingredients & just 3 easy steps:
- Prepare the cukes
- Prepare the brine
- Fermentation
Let us take you step-by-step through our easy fermented pickles recipe. Enjoy our photos to help while you create! Then, print the complete recipe at the end of this post and start your easy fermented pickles for a daily probiotic boost.
1. Prepare the Cukes
All cucumbers have a stem end and a blossom end. Removing the blossom end will help keep the cucumbers crunchy. The blossom end contains enzymes that can cause softening. Confused about which end is which?

This is the stem end of your cucumbers
The stem end will be greenish and rough, and in most cases still have the stem attached.
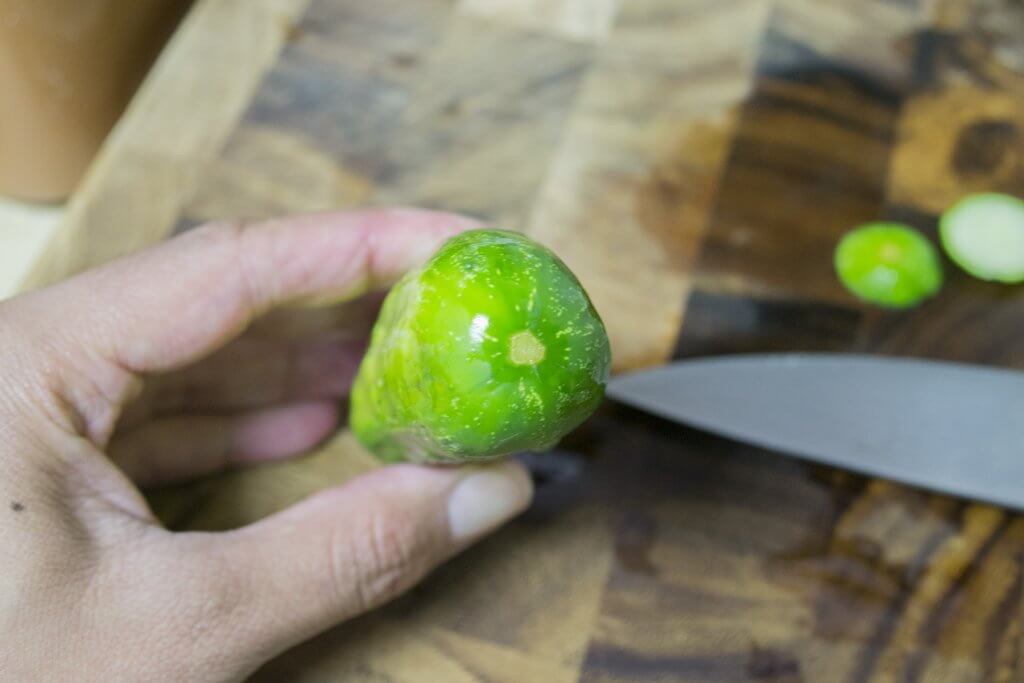
Blossom end of a cucumber
The blossom end is yellowish or whitish. It’s typically smooth.
Remove at least 1/16th inch from the blossom end. Repeat for all the cucumbers.
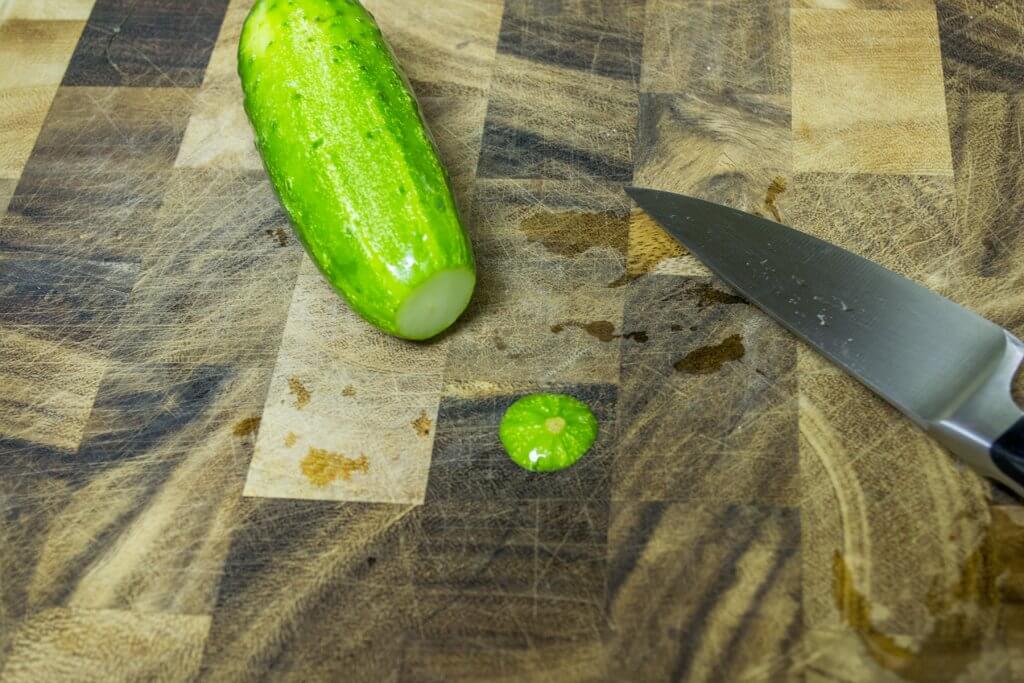
Remove at least 1/16 inch at the end of the blossoms on your cucumbers
2. Prepare the Brine
Add the salt to the room temperature water.
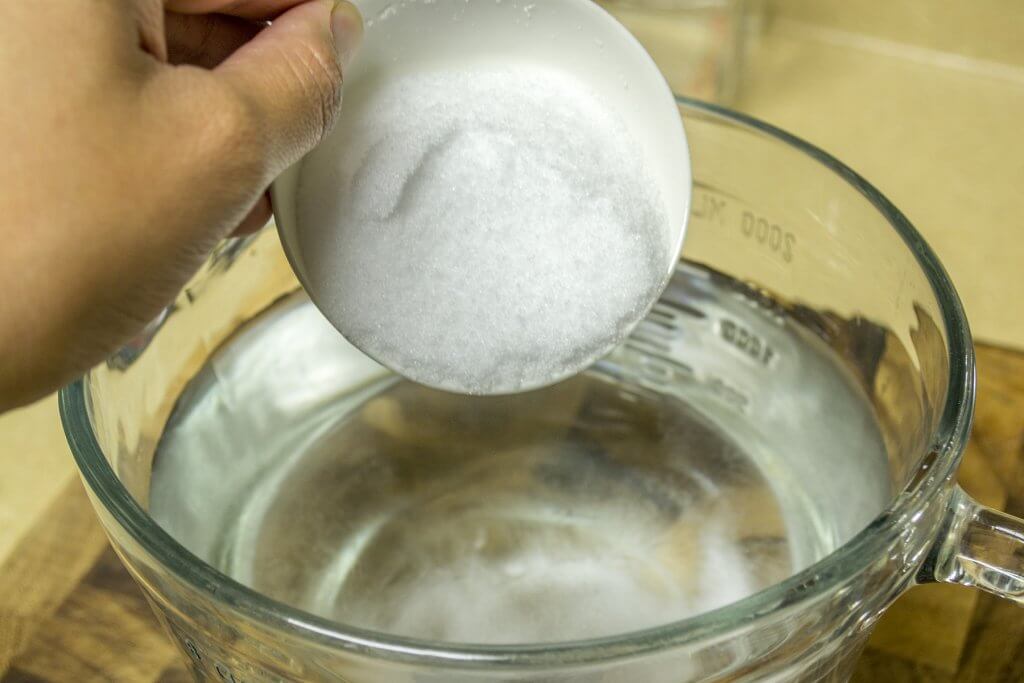
Add quality sea salt to your room temperature water
Mix in the salt until completely dissolved. The water will be clear again.

Mix your sea salt (or quality pickling salt) until the water is clear
Add the spices to the bottom of a sterilized jar and pack in the cucumbers tightly.
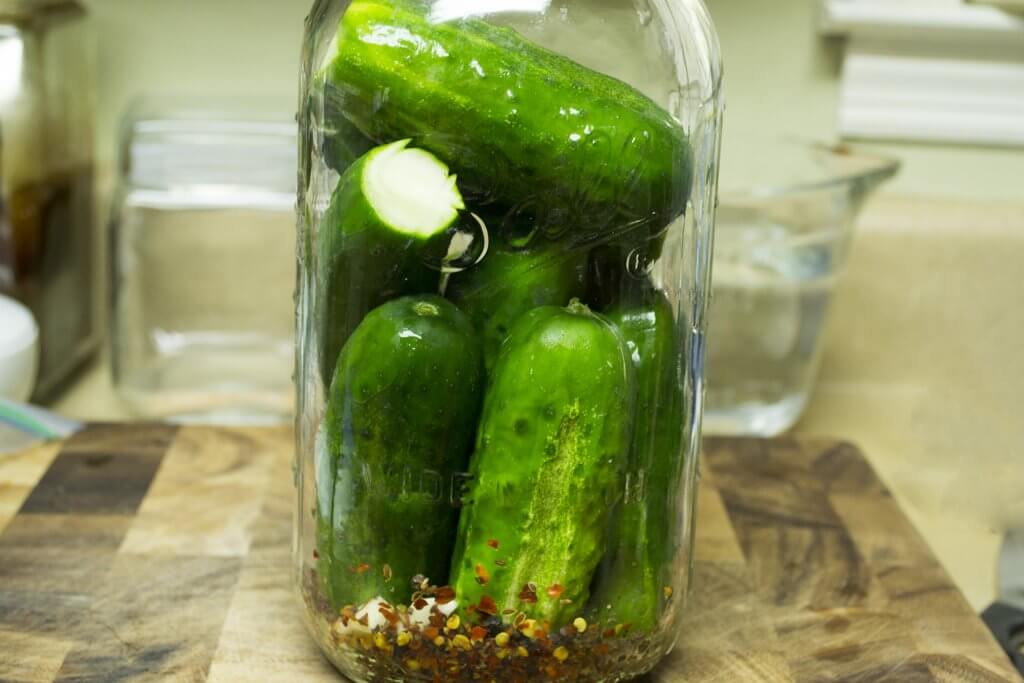
Pack your pickles as tightly as possible, not quite to the top
I like to just fill it up to the “shoulders” of the jar. Fill the jar with the brine until the cucumber are completely covered, but don’t forget to leave a one inch headspace.
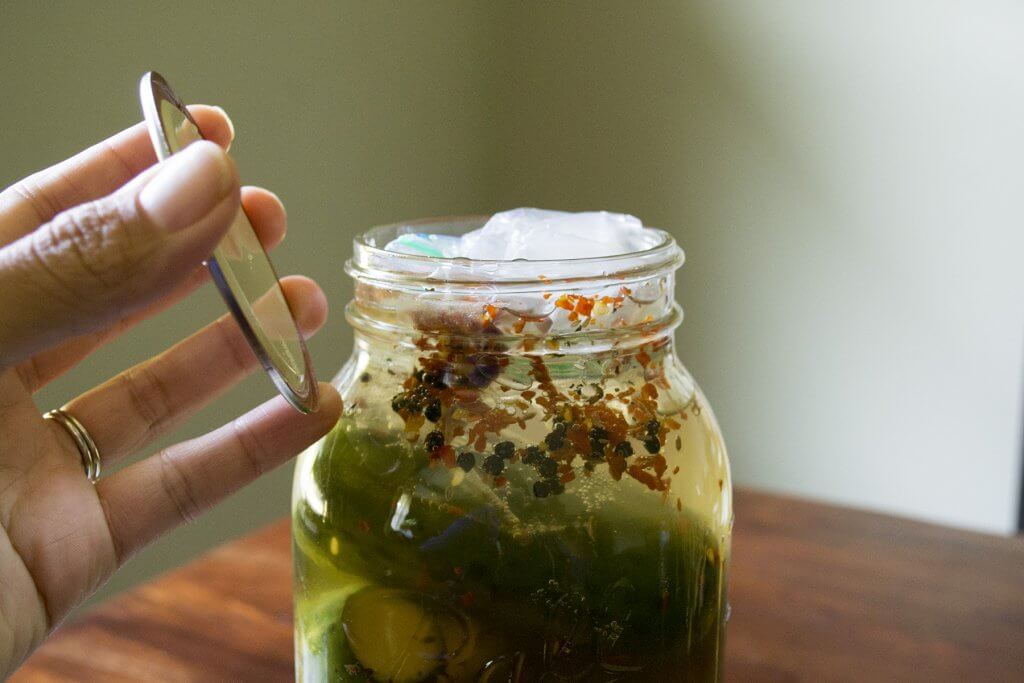
The cucumbers need to stay submerged. I learned this trick from Alton Brown…
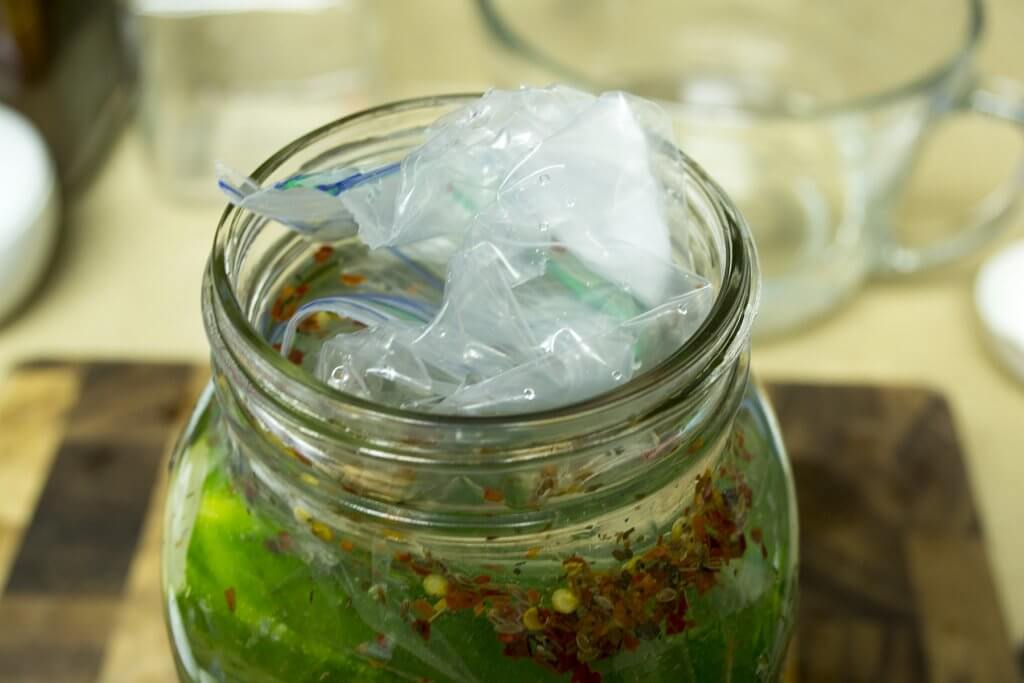
The Alton Brown ‘baggie, water, submerge’ trick…
Use a sandwich size zip baggie and fill it with about an inch of water. Press as much air out as you can and zip it shut. Press the baggie into the jar until the cucumbers are completely submerged. Some brine may spill out—that’s fine. Wipe the rim and put on the lid. Place the jar on a saucer (and a towel you can remove to clean…more below) in a cool, dry place.
3. Fermentation
Depending on how warm it is in your home, fermentation will take up to four weeks. After a couple of days you will see little bubbles forming in the jar. This is the fermentation process. The warmer the temperature in your home is, the faster the fermentation process.
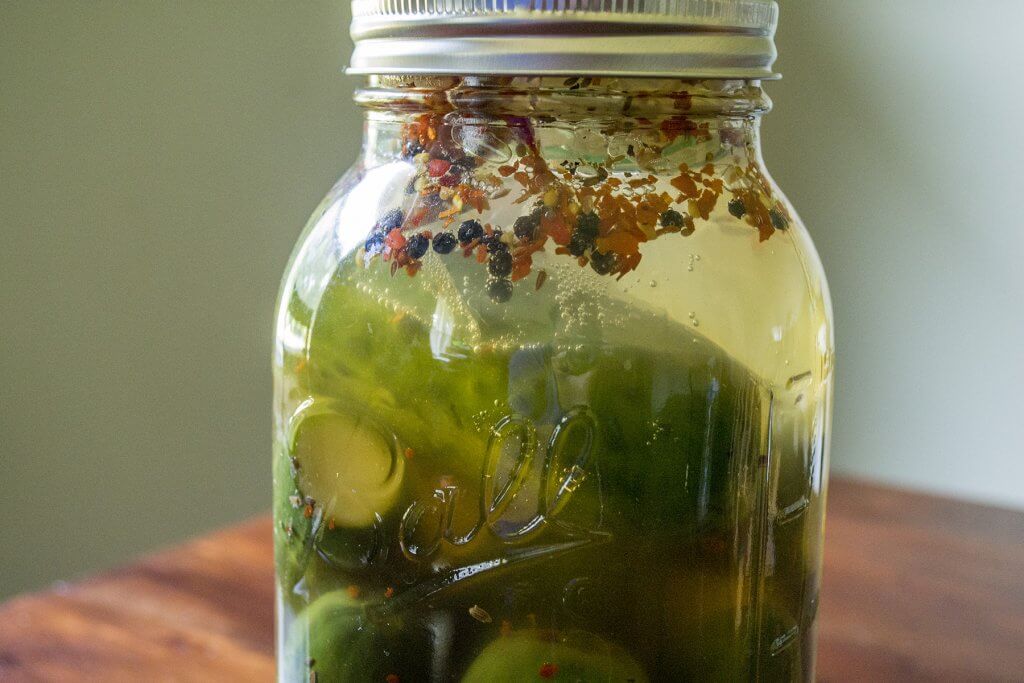
See the little bubbles? Let them do their thing and let the fermentation happen, but check in daily at this point!
As the fermentation process gets going, you will need to check it daily. The gas produced during the fermentation process will cause the lid to bulge and some of the brine will leak out. Replace your towel on the saucer, if needed. You don’t want fruit flies coming around! You can alleviate this leakage by “burping” the jar. Simply remove the lid to let the excess gas out. Replace the lid and check again the next day.
Burp the jar!
The pickles are done when the bubbling stops and the cucumbers have turned an olive green color inside and out. At this point, refrigerate the pickles. The fermentation process will continue, but a slower rate in the fridge. Enjoy your pickles on sandwiches, burgers, or straight up!
These easy fermented pickles are a great way to get a daily dose of healthy probiotics in your diet (& they are oh.so.tasty)!

- 5 Tbsp. sea salt or pickling salt* (quality sea salt like this is great)
- 2 quarts room temperature water
- 4-6 cloves garlic, peeled
- 2 Tablespoons dill seed (certified organic dill seed)
- 1 teaspoon of loose leaf green tea or any loose leaf tea (this increases the tannins, which help keep the cukes crunchy) -this is a nice organic jasmine green tea
- 1 tablespoon of black peppercorns and red pepper flakes (optional)
- Enough pickling cucumbers to fill a ½-gallon glass jar (make sure they are pickling cucumbers, like Kirby's. Regular salad cucumbers do not pickle well and will become mushy)
- All cucumbers have a stem end and a blossom end. Removing the blossom end will help keep the cucumbers crunchy. The blossom end contains enzymes that can cause softening. Confused about which end is which? The stem end will be greenish and rough, and in most cases still have the stem attached.
- The blossom end is yellowish or whitish. It’s typically smooth.
- Remove at least 1/16th inch from the blossom end. Repeat for all the cucumbers.
- Add the salt to the room temperature water.
- Mix in the salt until completely dissolved. The water will be clear again.
- Add the spices to the bottom of a sterilized jar and pack in the cucumbers tightly. I like to just fill it up to the “shoulders” of the jar. Fill the jar with the brine until the cucumber are completely covered, but don’t forget to leave a one inch headspace.
- The cucumbers need to stay submerged. I learned this trick from Alton Brown. Use a sandwich size zip baggie and fill it with about an inch of water. Press as much air out as you can and zip it shut. Press the baggie into the jar until the cucumbers are completely submerged. Some brine may spill out—that’s fine. Wipe the rim and put on the lid. Place the jar on a saucer in a cool, dry place.
- Depending on how warm it is in your home, fermentation will take up to four weeks. After a couple of days you will see little bubbles forming in the jar. This is the fermentation process. The warmer the temperature in your home is, the faster the fermentation process.
- As the fermentation process gets going, you will need to check it daily. The gas produced during the fermentation process will cause the lid to bulge and some of the brine will leak out. You can alleviate this by “burping” the jar. Simply remove the lid to let the excess gas out. Replace the lid and check again the next day.
- The pickles are done when the bubbling stops and the cucumbers have turned an olive green color inside and out. At this point, refrigerate the pickles. The fermentation process will continue, but a slower rate in the fridge. Enjoy your pickles on sandwiches, burgers or straight up! Fermented pickles are a great way to get a daily dose of probiotics in your diet.
Looking for more fermented food recipes?
We have plenty…see them all HERE!
Comments 12
I found green mold on one pickle at the top and a bit of it floating at top by the pickle. Actually has some white on it as well. Water is cloudy but there is no bad odor ,are pickles safe to eat. I fermented them 8 days
Hi Bette~ I would not eat the pickles. :/ I wonder if they weren’t fully submerged? So sorry.
I want to make homemade pickles so badly- you make it sound easy!
You’ll be surprised at just how easy it really is!
These look way healthier and tastier than store bought pickles! So easy to make too. I can’t wait to try it!
Wonderful tutorial. I do some fermenting but want to make a wonderful simple pickle next.. thanks for the reminder about the tannins.. I have a lovely jasmine tea.. I’ll take your advice!
Oh my goodness…you are going to LOVE these. Stop back and let us know how they are! 🙂
I don’t have any zip lock baggies in my household (I try not to use plastic for any reason)so I got the idea of using metal tea holders (the ones you use for loose leaf teas with the holes in them) at the top to keep the pickles submerged. Do you think there will be a problem with the metal being submerged in the brine?
Hi Anna. Oh, innovative! As long as they stay submerged I think you should be a-okay. If you give it a go please come back and let us know how it works. Happy fermenting!
I love how easy this sounds! I love making quick refrigerator pickles but have yet to ferment any. I may give this a go!
Thanks for an easy to follow recipe! I made some yesterday and I can’t wait to see how they turn out.
Yummy sounding recipe. I just purchased some black tea and will use it in my next batch for the added tannins.