Gluten Free Breadsticks | Easy, No-Fuss
Last updated on March 12, 2026 by Jessica Healey
Originally published on February 20, 2025
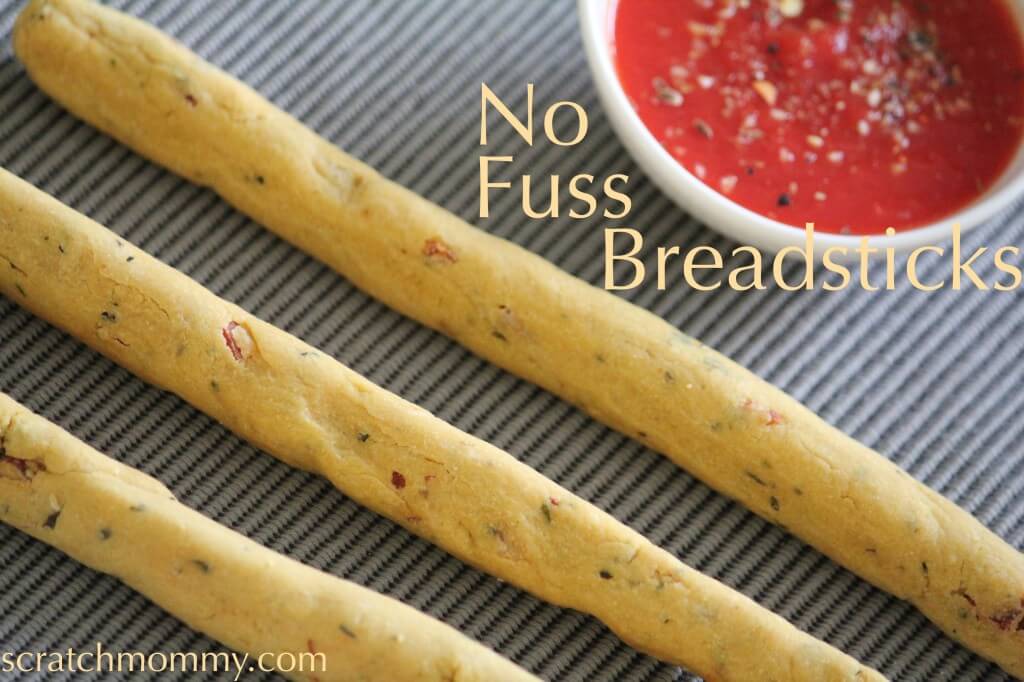
I first made these gluten free breadsticks when my family wanted Olive Garden-style breadsticks, but I needed a wheat-free version. These turned out even better—crispy, flavorful, and perfect for dipping!
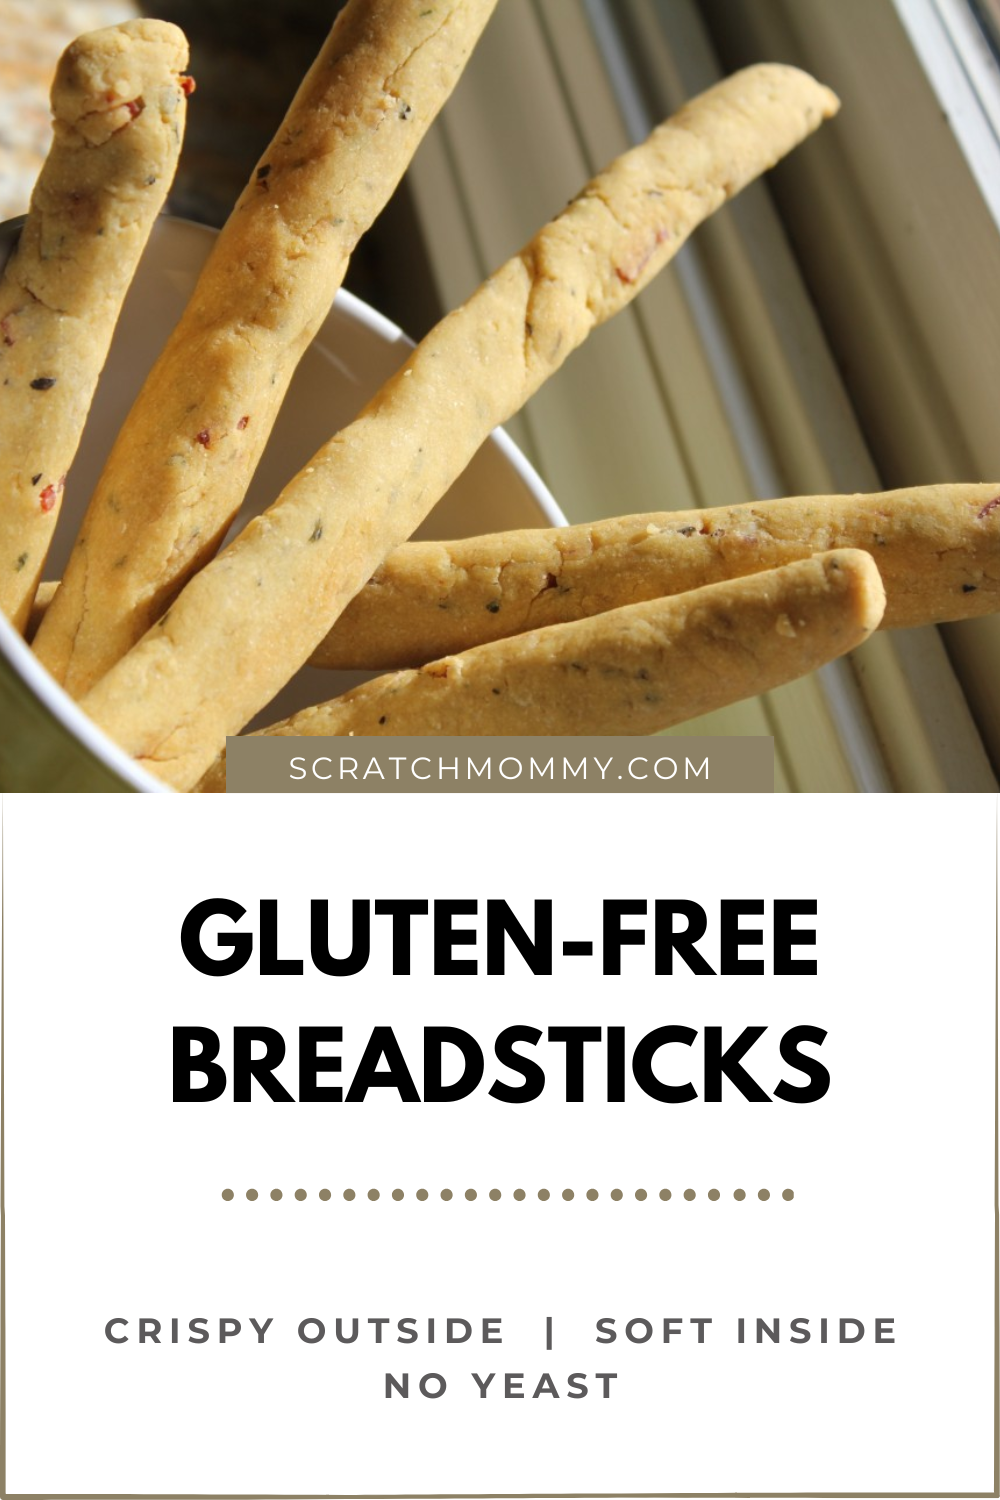
This easy to make breadsticks recipe is packed with flavor and made with garbanzo & fava bean flour for a protein-rich, gluten-free twist (don’t worry, there are flour substitutions below). They don’t even require that you have yeast in your pantry! They’re crispy on the outside, soft on the inside, and perfect for dipping in marinara, cheese sauce, or BBQ sauce!
Why You’ll Love This Recipe
- Gluten-Free & Nutrient-Dense – Many gluten-free bread recipes rely on starches, but this one packs protein and fiber thanks to garbanzo & fava bean flour. That means more nutrition and a heartier bite!
- Quick & Easy – No waiting for yeast to rise, no complicated steps—just mix, shape, and bake. In under 20 minutes, you’ll have fresh, homemade breadsticks ready to enjoy.
- Versatile – Whether you prefer cheesy, herby, or even spicy, this recipe is endlessly adaptable. Toss in your favorite seasonings, experiment with add-ins, and make it your own.
- Perfect for Dipping – These crispy-yet-soft breadsticks were made for dunking! Pair them with homemade marinara, a creamy cheese sauce, or even honey butter for a sweet-savory twist.
Ingredients for Gluten Free Breadsticks
How to Make Gluten Free Breadsticks
Making these breadsticks is certainly easier than you think! Follow these simple steps:

Step 1: Preheat & Prep
- Preheat your oven to 450°F (232°C). Line a baking sheet with parchment paper or a baking mat.
Step 2: Mix the Ingredients
- Melt the coconut oil in a medium-sized bowl.
- Add the cheese, diced pepperoni, and spices. Stir to combine.
- Add the flour and mix well.
- Gradually add ½ cup water, stirring as you go. If the dough feels too dry, you should add a little more water, 1 tbsp at a time, until it fully comes together.
Step 3: Shape Gluten-Free Breadsticks
- Roll the dough into small balls, slightly larger than golf balls.
- Using your hands, roll each ball into a breadstick shape, about 4-5 inches long.
- Place them on the prepared baking sheet.
Step 4: Bake to Perfection
- Bake at 450°F for 12-15 minutes, flipping once halfway through.
- Finally, they’re done when they turn golden brown on the outside.
Step 5: Enjoy!
These breadsticks are absolutely delicious on their own, but even better dipped in:
- Homemade Marinara Sauce
- Cheese Sauce (I loooooove Meggan’s easy cheese sauce recipe)
- Our Zesty BBQ Sauce
Tips for Success
- Adjust Water as Needed – The dough should be soft but not sticky. If it’s too dry, add 1 tbsp of water at a time until it holds together.
- Customize the Flavor – Want a more garlicky kick? Add ½ tsp onion powder + ¼ tsp cayenne. Love herbs? Add chopped fresh basil or rosemary.
- Make It Dairy-Free – Omit cheese entirely, or use dairy-free shredded cheese like Daiya. You can also sprinkle with nutritional yeast for a cheesy flavor.
Storage & Make-Ahead Tips
- To Store: Keep in an airtight container at room temperature for up to 2 days, or in the fridge for up to 5 days
- To Freeze: Bake the breadsticks, let them cool completely, and then store in a freezer-safe bag for up to 3 months. Reheat in the oven at 350°F for 5-7 minutes
- Make Ahead: Mix and shape the dough, then refrigerate unbaked breadsticks for up to 24 hours before baking
Recipe Troubleshooting
- My breadsticks turned out too dry—what went wrong?
If your dough feels too crumbly or cracks when shaping, it likely needs a bit more moisture. Add 1 tbsp of water at a time until the dough holds together but isn’t sticky. - My breadsticks didn’t brown—what can I do?
A light brushing of oil before baking can help them turn golden brown. If they still aren’t browning, check your oven temperature with a thermometer—many ovens run cooler than their settings!
More Gluten Free Recipes You’ll Love
Love easy gluten-free recipes? Try these next!
- Easy Almond Flour Crackers – perfect for snack boards
- Grain-Free Cinnamon Roll in a Mug – a cozy breakfast option
- Gluten-Free Pumpkin Crepes with Warm Apple Filling – fall flavors in every bite
➡️ Print or save this recipe for later!

Gluten Free Breadsticks (Easy, No-Fuss)
Ingredients
- 2 C garbanzo & fava bean flour
- 1/2-3/4 C water
- 2 T coconut oil – melted
- 1/2 C your favorite cheese – shredded (Kerrygold Cheddar is a great choice for these sticks)
- 1/4 C pepperoni – finely diced
½ tsp each of the following
- Sea salt
- Oregano
- Thyme
- Basil
- Parsley
- Garlic powder
Instructions
- Preheat oven to 450F degrees.
- Melt coconut oil in medium-sized bowl. Add the cheese, pepperoni, and all spices to the bowl, mix.
- Add the flour, mix.
- Add the water, mix. You might need to add a little more than 1/2 C. Just make sure that the entire mixture comes together with no leftover flour in your bowl.
- Form small, round balls (slightly larger than golfballs). Roll these balls into breadstick shapes.
- Pop them in the oven (on a greased pan, or use your baking mat…I LOVE mine)
- Bake for 12-15 minutes (depends on how thick they are). Turn one time during baking.
- They are finished when they are a little brown.
What Readers are Saying
Readers who have made this recipe are raving about it! Here is what they had to say after feeding their family:
Final Thoughts on the Gluten Free Breadstick
If you’re new to gluten-free baking, these breadsticks are a perfect place to start! They’re simple, delicious, and packed with flavor. Let me know when you make them—I’d love to hear about your favorite dip pairings.
⭐ Have you tried this recipe? Let me know in the comments! What’s your favorite dip for breadsticks? ⭐⭐⭐⭐⭐
Until next time…
xoxo, Jess
Scratch Mommy


Your breadsticks look awesome! I’ll look for the flour online.
Thanks! We like them. 🙂
I’ve had two readers contact me on Facebook…they loved them, too. One made them with spelt flour and they liked them.
I get this brand of flour- http://www.amazon.com/gp/product/B005TY1H8G/ref=as_li_ss_tl?ie=UTF8&camp=1789&creative=390957&creativeASIN=B005TY1H8G&linkCode=as2&tag=scramomm-20
Let me know if/when you make them! 🙂
Also, thanks for always hosting your great blog party.
Jess
No way! I am going to have to put garbanzo flour and fava bean flour on my shopping list! I HAVE to try these! Pinning!!!
Thanks so much for this fun-fun party!!…
Wishing you a superb Tuesday… 🙂
hugs x
Crystelle
Crystelle Boutique
These look so good! I think I might be handle to this! I am going to pin this for later!
I am in love with this recipe! Can’t wait to try it out on my boys with some vegan cheese! YUM! So very excited with all the entries this week! Thanks for linking up at our Gluten Free Fridays party! I have tweeted and pinned your entry to our Gluten Free Fridays board on Pinterest! 🙂
Cindy from vegetarianmamma.com
Thanks, Cindy!
Please let me know how you and the boys like them. 🙂
Jess
Do you think this would work if I left out the cheese? Thanks! 🙂
Hi April,
I bet that they would. You might have to add a bit more flour for binding, but maybe not. I would just mix everything together and see how the dough feels. If it’s not “together” enough, add a bit more flour.
Please let me know how they turn out! 🙂
Jess
Thank you for the answer! Hopefully I’ll be able to experiment with it soon. I’ll let you know how it goes! 🙂
These look great! I can’t wait to try them.
Hooray! Thanks, Angela. They are a hit with me, hubs, and the toddler…which is always a nice thing to please all three! 😉
Thanks for stopping by,
Jess